Storyboarding is where your screenplay starts becoming a film. It's the bridge between written words and the shots your crew will actually capture. And no, you don't need to be a good artist to storyboard effectively.
Why Storyboard?
A storyboard answers the most important pre-production question: what does this scene look like?
Without one, you'll spend expensive set time figuring out framing and coverage that you could have planned for free at your desk. For indie filmmakers working with limited budgets and shooting days, this planning is critical.
Storyboards help you:
- Discover visual storytelling opportunities you'd miss in the script
- Communicate your vision to your DP, production designer, and crew
- Identify shots that need special equipment (crane, steadicam, specific lens)
- Estimate how many setups each scene requires (directly affects your schedule)
- Find continuity problems before they become reshoots
Shot Types You Need to Know
By Frame Size
| Shot | Abbreviation | Shows | Used For |
|---|---|---|---|
| Extreme Wide | EWS | Full environment | Establishing location, epic scope |
| Wide | WS | Full body + environment | Scene geography, movement |
| Medium Wide | MWS | Knees up | Walking, group dynamics |
| Medium | MS | Waist up | Dialogue, standard coverage |
| Medium Close-Up | MCU | Chest up | Conversation, emotion |
| Close-Up | CU | Face only | Emotion, reaction, emphasis |
| Extreme Close-Up | ECU | Detail (eyes, hands) | Tension, critical detail |
| Insert | INS | Object detail | Props, phones, letters |
By Camera Angle
- Eye level. Neutral, objective.
- Low angle. Makes subject appear powerful, dominant.
- High angle. Makes subject appear small, vulnerable.
- Dutch angle. Tilted frame for unease or disorientation.
- Bird's eye. Directly overhead, God's perspective.
- Over-the-shoulder (OTS). Common for dialogue scenes.
Camera Movement
- Pan. Camera rotates horizontally (left/right).
- Tilt. Camera rotates vertically (up/down).
- Dolly/Track. Camera physically moves toward/away from subject.
- Crane/Jib. Camera moves vertically through space.
- Steadicam/Gimbal. Smooth handheld following movement.
- Static. Locked off, no movement (powerful in its simplicity).
How to Storyboard (Step by Step)
1. Break Your Script into Shots
Read each scene and visualize it as a sequence of shots. For a dialogue scene between two characters, you might need:
- Establishing wide shot of the location
- Two-shot (both characters in frame)
- Close-up of Character A (for their coverage)
- Close-up of Character B (for their coverage)
- Insert of the prop they're discussing
Take the campfire scene in Big Fish where Edward tells the Indian Guides about The Beast. You'd need: a wide shot of the group around the fire, a close-up of Edward narrating with conviction, a reaction shot of Will looking bored (he's heard this before), an insert of the wedding ring glinting in the firelight, and a close-up of the confused kid asking "Your finger?"
That's 5 setups minimum. Write this shot list first, then draw.
2. Sketch the Frames
Each frame should show:
- Framing. What's in the shot and where.
- Character position. Who is where in the frame.
- Camera movement. Arrows showing any motion.
- Key action. What's happening in this moment.
Stick figures are fine. Boxes and circles are fine. The point is communication, not art.
3. Add Annotations
Below or beside each frame, note:
- Shot type (WS, CU, etc.)
- Camera movement (if any)
- Dialogue excerpt or action description
- Audio notes (music, sound effects)
- Duration estimate
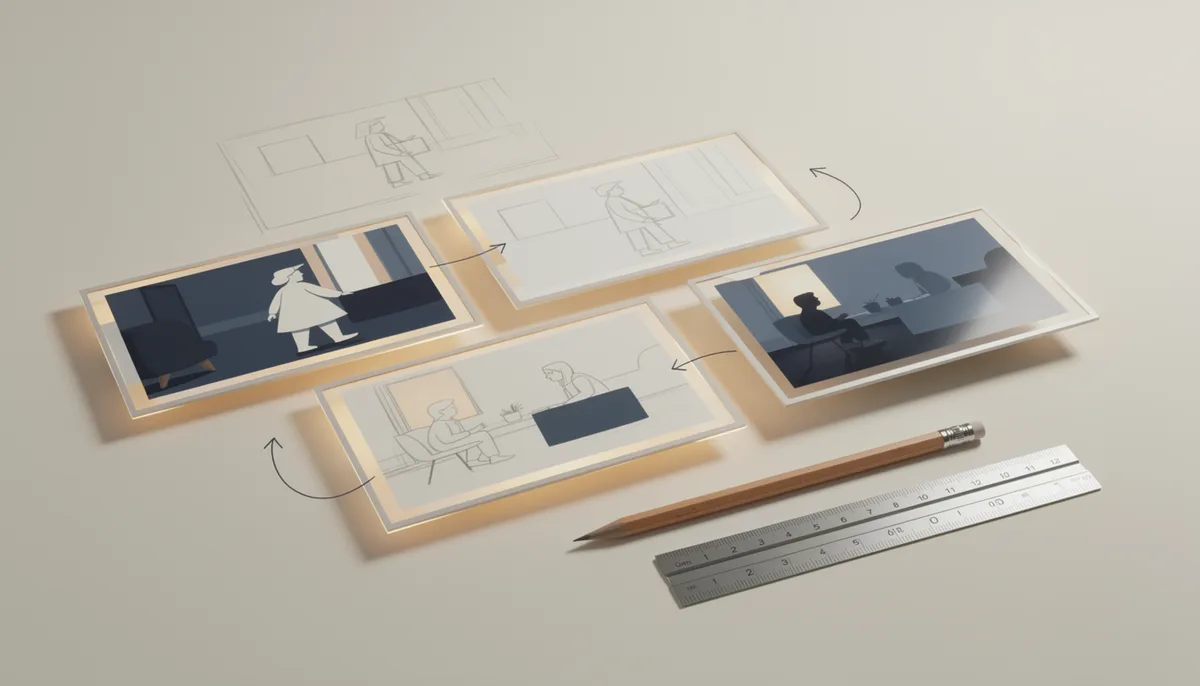
4. Sequence and Review
Lay out all frames in order and "watch" your scene. Do the shots flow? Are there jarring transitions? Is the 180-degree rule maintained? This is where you catch problems.
Storyboarding Without Drawing Skills
If you can't draw (most directors can't), you have options:
Stick figures with annotations. Perfectly effective. Kubrick's early storyboards were rough sketches with detailed notes.
Photo storyboards. Take photos of people or toys in approximate positions. Quick, clear, and free.
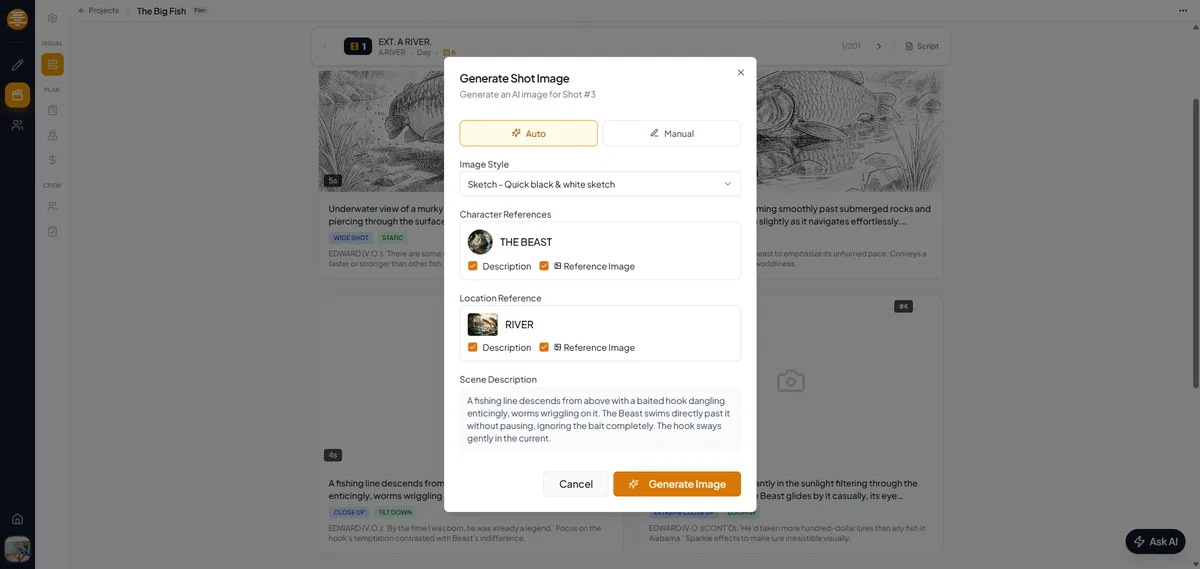
AI-generated storyboards. Describe your shot and let AI generate a visual reference. This has become increasingly practical for pre-visualization.
Using plotwell for Storyboarding
plotwell's storyboard tool is built for filmmakers who need visual planning without the overhead of complex software:
- Scene-by-scene panels. Organize panels by scene, matching your script structure automatically.
- Shot metadata. Set shot type, camera angle, camera movement, and lens for each panel. Your DP gets a technical reference, not just a picture.
- AI image generation. Describe a shot in plain text and generate a visual reference. "Wide shot of a woman standing alone in an empty train station at night, fluorescent lighting." No drawing required. The AI generates images that match the tone and style of your project.
- Fill entire scenes with AI. Select a scene and let AI read the action and dialogue from your script, then generate a complete storyboard sequence with appropriate shot types, framing, and camera movement. You get a full visual plan in minutes that you can refine.
- Drag-and-drop reordering. Experiment with shot order. Try starting the scene on a close-up instead of a wide. See how it feels.
- Script integration. Your storyboard panels link to scenes in your script. Navigate between the written scene and its visual plan instantly. When your script changes, you know which storyboard panels need updating.
- Character and location awareness. The AI knows your characters and locations from your project data. When generating storyboard images, it maintains visual consistency across panels.
- Export for set. Print your storyboards as PDFs with shot metadata. Tape them to a board on set so everyone can see the plan.
The goal isn't perfection. It's having a visual plan that makes your shoot day faster and your film better.
How Many Panels Do You Need?
Action/chase sequences: One panel per major beat (every 2-3 seconds of screen time). A 30-second chase might need 10-15 panels.
Dialogue scenes: One panel per shot setup (not per line of dialogue). A typical dialogue scene needs 4-8 panels.
Transitions/montages: One panel per shot. Keep it simple.
Rule of thumb: A 90-minute feature might have 200-400 storyboard panels total. Focus your effort on the scenes that are visually complex or technically demanding. Simple conversation scenes might not need storyboarding at all.
From Storyboard to Set
On shoot day, your storyboard becomes your shot list. Tape printed panels to a board on set so everyone can see the plan. Cross off shots as you complete them. When you're running behind schedule, the storyboard helps you decide which shots are essential and which can be cut.
The time you spend storyboarding is time you save on set, and set time is always more expensive.